
Adding a second battery to an RV is one of my first upgrades to a new camper. It is one of those simple things that many RV owners can do that is inexpensive and adds tremendous value to your camping experience. Even if you are always connected to shore power, your RV battery operates so many appliances and lights that the existing battery may have trouble keeping up with.
In this article, we will discuss the steps you need to take to add a second battery to your RV so that you can also benefit from having an additional power source, including:
- Benefits of adding a second battery
- What you need to add a second battery
- How to wire a second battery
- Connecting the second battery to the RV
Especially if you go boondocking or dry camp, the dual battery system is a must for you and your RV.
Table of Contents
- Benefits Of Adding Second Battery To RV
- What You Need To Add A Second Battery
- How To Wire A Second Battery
- Connecting The Second Battery To RV
Benefits Of Adding Second Battery To RV
Before we dive into the wiring and installation of a dual battery, here is a quick recap of the benefits of adding that second RV battery:
- You have increased battery power. Adding that second battery will theoretically double your power capacity for your DC loads. Your camping fridge, slide-out motor, and lights rely on battery power.
- Inverter ability. Some RVs and travel travelers are equipped with an inverter. This inverter will convert your battery’s DC power to AC power. This will allow you to use things such as receptacles in your RV when not connected to shore power. Adding a second battery will increase how long your inverter power will last.
- The additional battery in case of failure. When you are set up with 12V multiple batteries, you have a backup in case of original battery failure. Whether you have lithium batteries, AGM batteries, or a good old fashion lead acid battery, they fail and can be an issue. When you have that second battery, you have that backup DC power to get your slide in and run the jack motor to get you back on the road.
What You Need To Add A Second Battery
Now let’s get you started and see what you need to gather to get the added battery to your RV.
Step 1: Location Of A Second Battery
The first step is to ensure you have a great location to add this dual battery. In a travel trailer, the battery box is located at the front of the camper near the hitch. A couple of pieces of angle iron or steel usually act as a tray for your battery box.
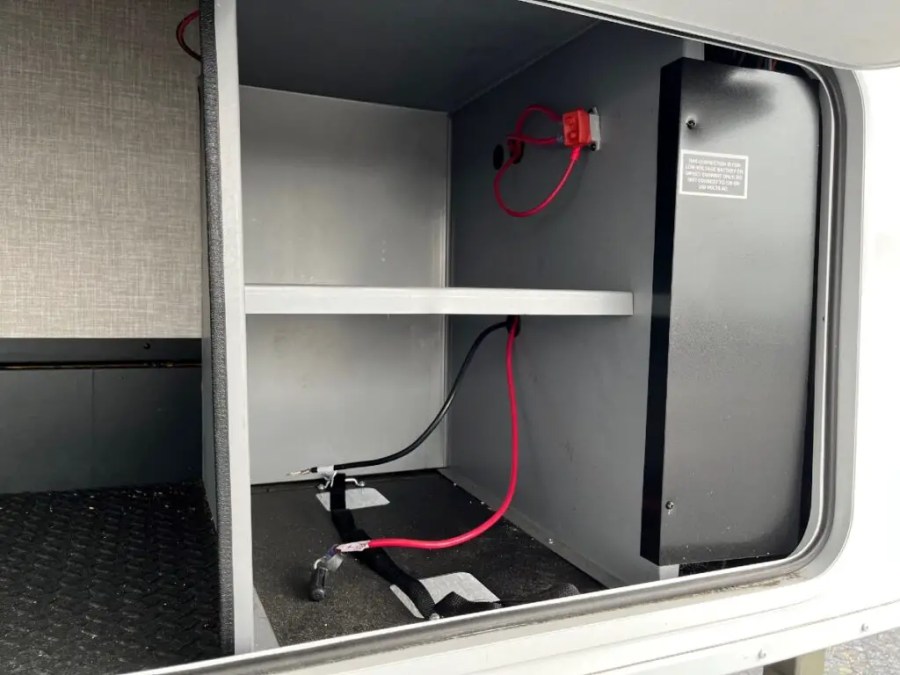
Your battery box is located within an exterior compartment in a motor home, as in the photo above.
Step 2: Battery Box Size
Now that you have a location picked, the next decision is whether to add a second single battery box or replace the single box with a dual battery box. Personally, I prefer the dual battery box. The reason is that with a dual battery box, both batteries and wires are tucked away in one box. And once the cover is put on, it gives you a clean look.
When you have two separate boxes, you will have wires going to them, which can look a little less organized.
Step 3: Attachment Screws
Next on the list are attachment screws or bolts. These will be needed to secure your single or double box to the trailer.

When using any attachment, it is important to use it with washers. Since the batter box is plastic, and the RV bounces down the road, the small head of a screw will eventually poke through the plastic and come detached from the trailer.
Step 4: Jumper Cables
Since you will be wiring two batteries together, you will need a set of positive and negative jumper cables or wires. You want the cables to be around 2 feet long, depending on how close your batteries are to each other. A little slack is good, but you don’t want it too long as it makes it harder to tuck the wires in the box.
And the cables need to be just as thick as your original incoming battery wires. Since you are transferring and combining the power of the batteries, you will always want to stay as thick or thicker as your original so there is no voltage drop or loss of power in the wire.
How To Wire A Second Battery
Now that you made your battery box selection and secured it to your RV, the next step is to place your batteries in the box and wire them together.
Before you start to wire, it is important to know the basics of voltage and how to keep the same 12 volts when connecting the two batteries.
Wiring Two 12 Volt Batteries Together
When you wire batteries together, which is true for any battery, including a vehicle battery or even small house batteries, you can increase the voltage or capacity.
In the case of wiring two 12 volt batteries together, you want to make sure that you are not wiring to increase voltage. If you were to wire the two batteries together incorrectly, you would end up with 24 volts going to your RV, causing fuses to be blown and other potential issues.
Important: When wiring two 12-volt batteries to your RV, you must wire them in parallel to keep the same voltage. To wire in parallel, connect the red jumper cable to each battery’s positive terminal. Then take the black jumper cable and connect it to each of the negative terminals of the battery. This is a parallel connection that still keeps the same voltage yet doubles your capacity.
Wiring Two 6 Volt Batteries Together
There is an instance where you want to increase the voltage of your battery connection, and that is when you are using two 6v batteries. Although not as common as a 12 volt battery setup, some RVgoer’s have set up their dual battery setup with 6v batteries.
When using 6v batteries for your RV, you want to wire them in series to increase the output voltage to 12 volts. Running batteries in series to get higher voltage is similar to AA house battery in a flashlight. When you slide your AA battery into a flashlight, you are connecting the bottom end of one battery to the top end of the other battery. Each end of a AA battery (which is 1.5 volts) is either positive or negative, just like a deep cycle battery. So by connecting the battery positive to the negative, you are increasing the voltage of the AA battery to what the flashlight needs (3 volts).
This same principle can apply when connecting your RV battery. To wire your 6v batteries in series to get 12 volts, take the red jumper cable and connect one end to the positive of one battery to the negative of the other battery. Then take the black wire, and do the same with the open terminals. Connect one end of the jumper cable to the open negative end and the other to the open positive terminal. This battery is now producing double voltage at 12 volts. However, the capacity of the battery remains the same.
For a lot more information, visit the Ultimate Deep Dive into 6v vs 12v RV batteries. There you will learn more about the advantages and disadvantages of each battery type.
Connecting The Second Battery To RV
Now that you have your box in place and the batteries connected to each other, it’s time to connect the batteries to your RV.
There are a couple of ways to connect your dual battery system that will work just fine. I prefer this method that I am going to share. The reason is that this method will keep multiple batteries acting as one, and the power is transferred to your RV equally from both batteries.
Step 1: Connect The Negative Wire From RV To the Negative Battery Terminal
It sounds simple and makes sense. Nothing fancy here; make sure you have a clean and secure connection. The next step is where my preferred option comes into play.
Step 2: Connect The Positive Wire From The RV To The OTHER Battery
In this method, you now connect the positive RV cable to the other battery’s positive terminal. So that means you will have just one connection to the RV from each battery. The advantage of this is that the power from each battery is transferred equally across both batteries.
Whereas, if you connect the RV wires to just one of the batteries, it would first drain that battery and then go to the second connected battery. Again, this will still work, but I prefer both batteries being equally drained vs one draining first, then the other. This also helps as your converter is trying to keep the batteries charged. It will charge both equally vs one then the other.
Step 3: Connect Your Battery Isolator
You can reconnect from the RV with a battery isolator or disconnect switch.

Since the isolator disconnects either the positive or negative cable, it will still work with your double battery setup.
Final Thoughts
Whether dry camping or always being connected to shore power, having a dual battery system in your RV is a wise upgrade. Adding a second battery gives you the advantage of increased battery power, more inverter capabilities, and a backup battery to power you up in case one battery fails. We also reviewed how to wire a 12 volt battery in parallel to keep the same voltage. As well as wiring 6 volt golf cart batteries in series to get 12 volts for the RV. Once the batteries are connected, you can connect them to the RV by the preferred method of connecting the negative to one battery and the positive to the other.

Tony is an avid camper and RV traveler. He fell in love with camping on his first RV trip with his wife over 25 years ago. Tony loves sharing lessons learned and tips about RV maintenance and safe traveling.